As hurricane season approaches, it's crucial to ensure the safety of your property, including your…

Winterizing A Swimming Pool Heat Pump To Extend Your Pool Season
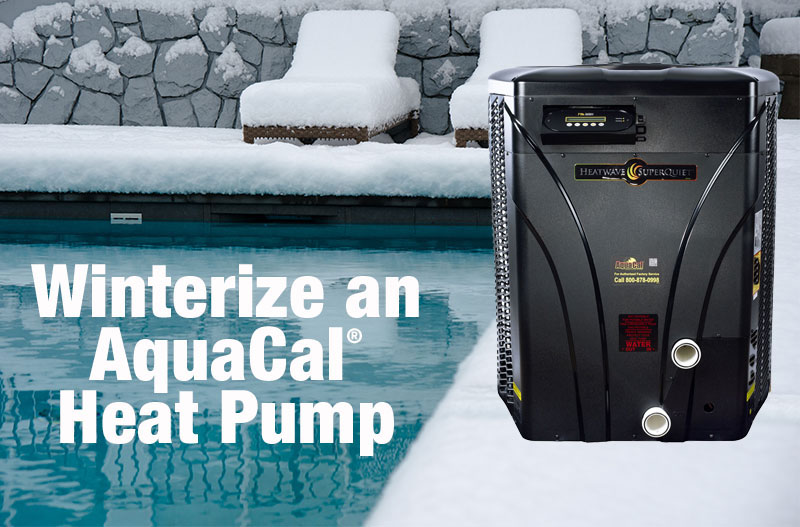
Winterizing Your Heat Pump: A Comprehensive Guide
Winterizing a heat pump involves preparing it for freezing conditions to ensure its longevity and proper functioning. Depending on the climate in your area and the frequency of freezing temperatures, the winterizing process varies. Below is a detailed guide to help you winterize your heat pump effectively.
Light Freeze Conditions
Definition: Light freeze conditions occur when outside temperatures remain at or just below 32°F for four (4) hours or less.
Action Plan:
-
If the heater will not be used for an extended period, allow pool water to circulate through the heater during regularly scheduled filtration cycles.
-
Adjust water pump controls for continuous operation during light freeze episodes. Circulating (moving) water will not freeze under these conditions.
Note: Moving water prevents solidification during brief and mild freezing episodes. However, for sustained freezes, additional precautions are necessary.
Hard Freeze Conditions
Definition: Hard freeze conditions are prevalent when freezing temperatures are sustained and severe. In such cases, all water must be removed from the entire heat pump water circuit to prevent damage.
Important: Freeze damage is NOT covered under product warranties. Water expansion during freezing can severely damage the heat pump condenser and water circuit. Proper winterizing is essential.
Winterizing Instructions by Heat Exchanger Type:
1. Titanium Exchanger (No Drain):
-
Disconnect power and turn “OFF” the circulation pump.
-
Remove the front access panel and confirm the heat exchanger matches the illustration in the manual.
-
Disconnect plumbing unions to enable self-draining.
-
Allow water to drain completely.
-
Loosely reconnect plumbing unions to prevent debris ingress.
2. Titanium Exchanger (With Drain):
-
Disconnect power and turn “OFF” the circulation pump.
-
Disconnect plumbing unions.
-
Remove the external drain plug.
-
Allow water to drain fully.
-
Reconnect the external drain plug.
-
Loosely reconnect plumbing unions.
3. Titanium Exchanger (Internal Drain):
-
Disconnect power and turn “OFF” the circulation pump.
-
Remove the front access panel and confirm the heat exchanger matches the illustration in the manual.
-
Disconnect plumbing unions.
-
Remove the drain plug and let water drain completely.
-
Reconnect the external drain plug.
-
Loosely reconnect plumbing unions.
4. Titanium Tube-in-Tube / Cupronickel Tube-in-Tube Exchanger:
These exchangers require additional steps for effective winterizing:
Steps:
-
Disconnect power and turn “OFF” the circulation pump.
-
Remove the front access panel and confirm the heat exchanger matches the illustration in the manual.
-
Disconnect plumbing unions.
-
Insert a garden hose into the inlet side of the heat pump, sealing it temporarily with a clean rag.
-
Run water through the exchanger for 2-3 minutes until fresh water exits the heater out-port.
-
Repeat the process for the outlet side.
-
Insert an air hose into the pool inlet of the heat pump, sealing it temporarily with a clean rag.
-
Use compressed air (~50 psi) to push out residual water from the water circuit.
-
Continue blowing air for 15-20 seconds after water stops exiting the outlet.
-
Repeat the process for the outlet side.
-
Loosely reconnect plumbing unions.
Final Notes
-
Always refer to your heat pump’s user manual for model-specific winterizing instructions.
-
Ensure all steps are followed diligently to prevent damage from freezing.
-
Consult a professional if you are unsure about any part of the process.
Proper winterizing protects your investment and ensures your heat pump remains functional for years to come.


This Post Has 0 Comments